Dirty, stained grout can make even the most beautiful tile look aged and neglected. Over time, these porous lines between your tiles absorb moisture, grease, and dirt, leading to discoloration or even mold growth. While professional cleaners and chemical-heavy store products are readily available, they are often expensive and contain harsh fumes that linger in your home. The good news is that you likely already have everything you need in your kitchen pantry to restore your floors and walls to their former glory. By using simple, non-toxic ingredients, you can achieve professional-grade results without the hefty price tag or the environmental impact.
The Power of Baking Soda and Vinegar
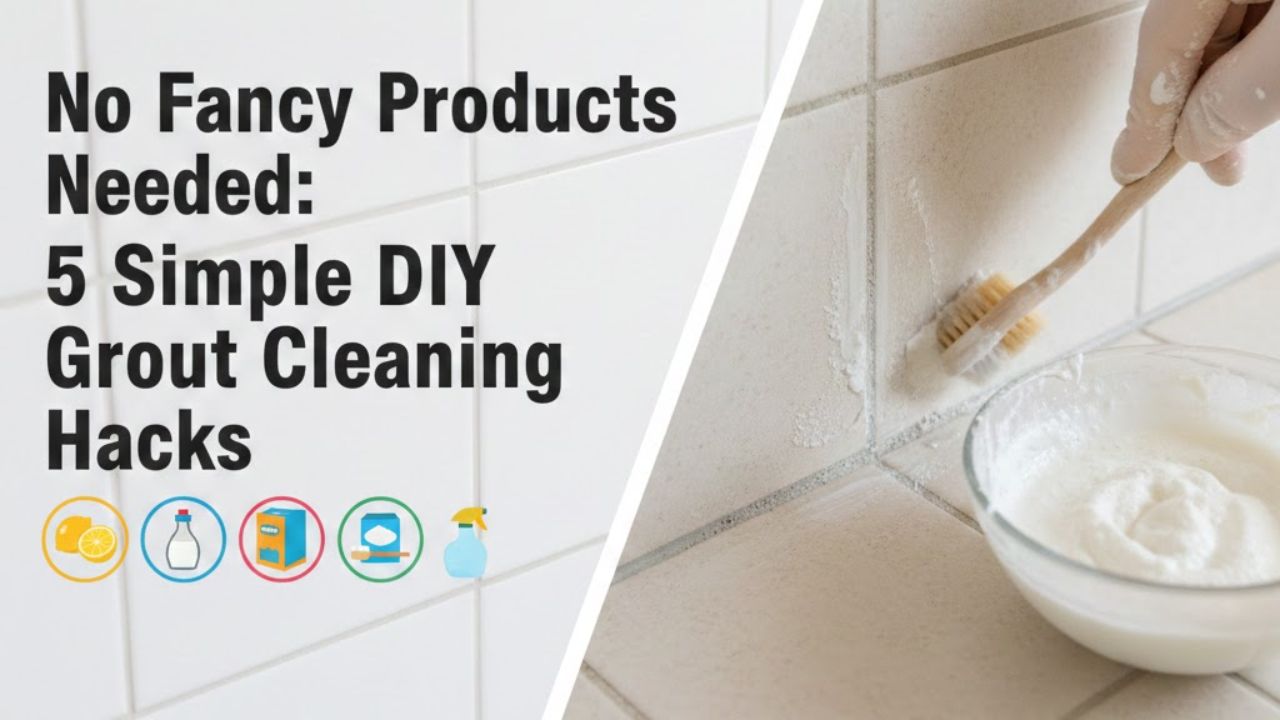
One of the most effective duos for tackling grime is the classic combination of baking soda and white vinegar. Baking soda acts as a mild abrasive that physically lifts dirt without scratching the tile, while vinegar’s acidity helps break down mineral deposits and soap scum. To use this hack, create a thick paste by mixing baking soda with a little water and applying it directly to the grout lines. Spray the paste with a mixture of equal parts vinegar and water, letting it fizz for several minutes. Once the bubbling subsides, scrub the area with a stiff brush and rinse with warm water to reveal a significantly brighter surface.
Brightening with Hydrogen Peroxide
For grout that has lost its original white luster or is suffering from stubborn mildew, hydrogen peroxide is a fantastic natural bleaching agent. Unlike chlorine bleach, hydrogen peroxide breaks down into water and oxygen, making it safer for indoor use. You can apply it directly to the grout or mix it with baking soda to create a “whitening oxygen paste.” This method is particularly useful in bathrooms where moisture levels are high. Let the mixture sit for at least ten minutes to allow the chemical reaction to lift deep-seated stains before scrubbing and rinsing thoroughly.
Comparison of Common DIY Cleaning Agents
| Cleaning Agent | Best For | Benefit | Leave Time |
| Baking Soda | General Grime | Non-toxic abrasive | 5-10 Minutes |
| White Vinegar | Mineral Deposits | Dissolves soap scum | 5 Minutes |
| Hydrogen Peroxide | Mold & Whitening | Natural bleach | 10-15 Minutes |
| Lemon Juice | Light Stains | Pleasant scent | 10 Minutes |
| Dish Soap | Kitchen Grease | Cuts through oils | 5 Minutes |
Cutting Through Grease with Dish Soap
In the kitchen, grout often becomes darkened by airborne oils and food splatters. Acidic cleaners are great, but sometimes you need a degreaser to get the job done. A simple mixture of warm water and a high-quality grease-cutting dish soap can work wonders on kitchen backsplashes. For an extra boost, mix the dish soap with baking soda to create a sudsy scrub. This method is gentle on natural stone tiles, which can sometimes be sensitive to the high acidity found in vinegar or lemon juice, ensuring your grout gets clean without damaging the surrounding material.
Steam Cleaning for Chemical-Free Success
If you want to avoid liquids altogether, heat is your best friend. Using a handheld steam cleaner is a highly effective way to sanitize and lift dirt from grout pores. The high-pressure steam loosens debris that manual scrubbing might miss. While the equipment requires an initial investment, it uses nothing but water, making it the ultimate eco-friendly solution. Simply run the steam nozzle along the grout lines and wipe away the loosened “sludge” with a microfiber cloth. This is especially helpful for deep-cleaning large floor areas where scrubbing on your hands and knees isn’t ideal.
Lemon Juice for Natural Acidic Cleaning
Lemon juice is another powerful, natural acid that works similarly to vinegar but leaves behind a fresh, citrus scent. The citric acid is excellent at eating away at hard water stains and light discoloration. You can apply fresh lemon juice directly to the grout or mix it with cream of tartar to form a paste for more localized, heavy-duty staining. Because lemons have natural bleaching properties, this hack is perfect for white grout that has turned a yellowish hue over time. Just be sure to rinse well, as any leftover sugar from the juice could potentially attract more dirt later.
Maintaining Your Results
Cleaning your grout is only half the battle; keeping it clean is the real challenge. To prevent future staining, consider applying a grout sealer once the area is completely dry. On a daily basis, simply wiping down wet tiles after a shower or using a squeegee can prevent the buildup of mold and soap scum. Regular maintenance with a simple spray of water and a microfiber cloth will ensure that you don’t have to perform deep cleans as often. By incorporating these simple habits and DIY hacks, you can keep your home looking pristine and chemical-free year-round.
FAQs
Q1 Is vinegar safe for all types of tile?
No. Avoid using vinegar or lemon juice on natural stone like marble or limestone, as the acid can etch and damage the surface. Use mild dish soap and water instead.
Q2 How often should I deep clean my grout?
For high-traffic areas like kitchens and bathrooms, a deep clean every 3 to 6 months is usually sufficient, provided you perform light weekly maintenance.
Q3 Do I need a special brush for scrubbing?
While professional grout brushes are helpful, an old stiff-bristled toothbrush or a nylon dish brush works perfectly fine for most DIY cleaning tasks.
Disclaimer
The content is intended for informational purposes only. you can check the officially sources our aim is to provide accurate information to all users.